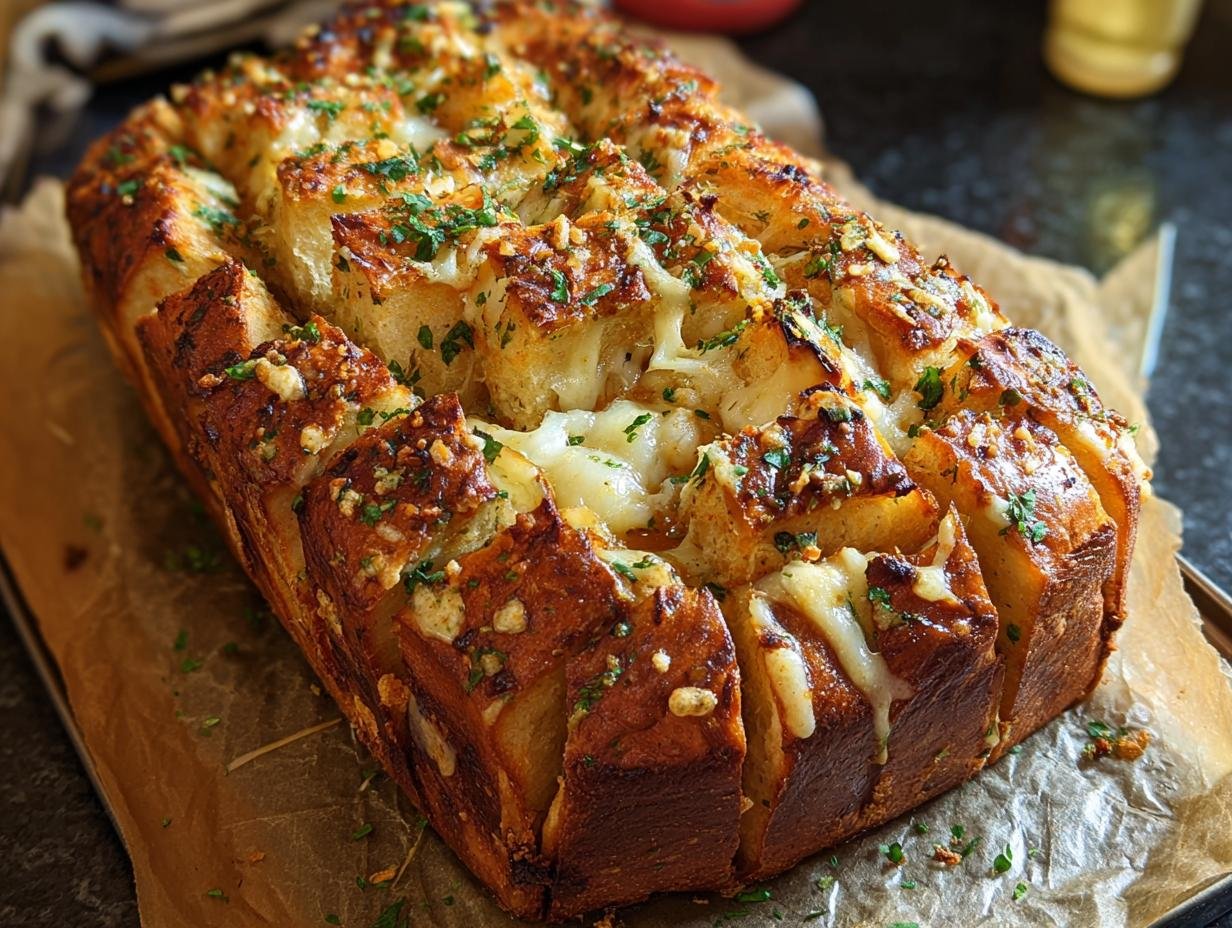
Pull-apart garlic bread has a way of making any meal feel like a party. I remember the first time I made this for a family get-together; the aroma of warm garlic and butter filled my kitchen, and within minutes, the bread was gone! It’s truly the best pull apart garlic bread recipe because it’s so simple yet incredibly satisfying. The golden, crispy crust giving way to soft, garlicky insides is pure comfort. This pull apart garlic bread recipe is perfect for sharing, and trust me, you’ll want to make extra because it disappears fast. Let’s get this delicious garlic butter pull apart bread made!
Why You’ll Love This Pull-Apart Garlic Bread
This recipe is a guaranteed crowd-pleaser for so many reasons. Get ready to impress your friends and family!
- It’s incredibly easy to make, perfect for beginners.
- The aroma alone will have everyone gathering in the kitchen.
- It’s the ultimate party appetizer that disappears in minutes.
- This easy pull apart garlic bread requires minimal prep time.
- The combination of warm, crusty bread, garlic, and butter is pure comfort food.
- You can customize it with your favorite herbs or cheeses.
- It’s the best pull apart garlic bread for any occasion, from weeknights to holidays.
- This easy pull apart garlic bread transforms a simple loaf into something spectacular.
Ingredients for Pull-Apart Garlic Bread
Gathering these simple ingredients is the first step to creating the most delicious garlic butter pull apart bread your friends and family will rave about. It’s truly a no-fuss recipe that delivers big on flavor!
- 1 large round loaf of crusty bread (sourdough or Italian style) – I like to use a rustic loaf that holds its shape well.
- 1/2 cup unsalted butter, softened – using softened butter makes it easy to spread and mix with the other flavorings.
- 4 cloves garlic, minced – fresh garlic is key for that pungent, amazing flavor.
- 2 tbsp fresh parsley, chopped – it adds a lovely freshness and a pop of color.
- 1 tsp Italian seasoning – this blend brings a wonderful savory depth.
- 1/2 tsp salt – just enough to enhance all the flavors.
- 1/4 tsp black pepper – freshly ground is always best!
- 1 cup shredded mozzarella cheese (optional) – for that irresistible cheesy pull!
- 1/4 cup grated Parmesan cheese (optional) – adds a salty, nutty finish.
How to Make Pull-Apart Garlic Bread
Ready to create some magic? This recipe makes how to make pull apart garlic bread incredibly simple, and the results are always worth it. Get ready for a warm, buttery, garlicky masterpiece!

- Step 1: First things first, let’s get that oven ready. Preheat your oven to 375°F (190°C). This ensures a nice, even bake for our delicious bread.
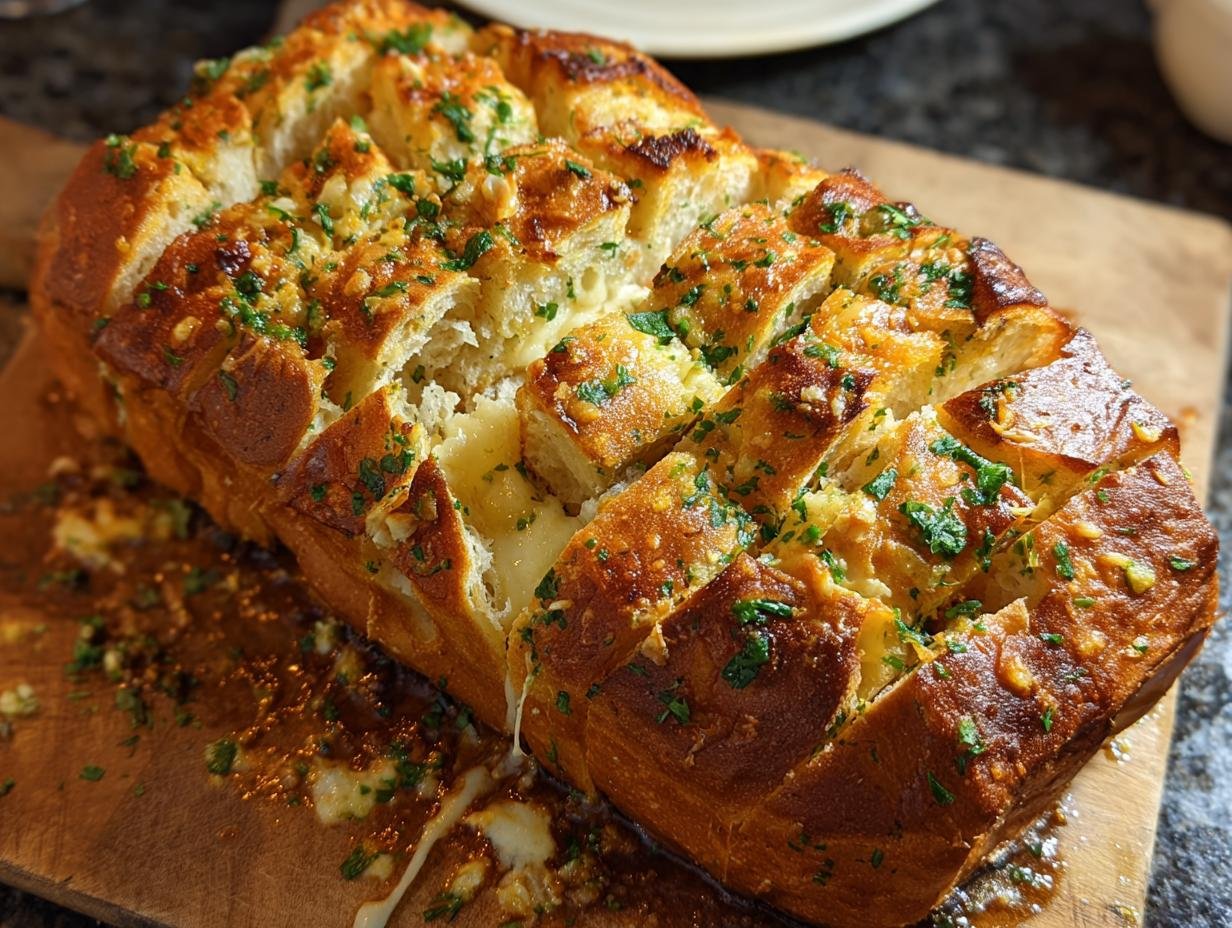
- Step 2: Grab your round loaf of crusty bread. Using a sharp knife, make crisscross cuts all over the top, going about three-quarters of the way down. Be careful not to cut all the way through to the bottom crust – we want it to hold together!
- Step 3: Now for the star of the show: the garlic butter. In a small bowl, combine the softened butter, minced garlic, chopped fresh parsley, Italian seasoning, salt, and black pepper. Give it a good mix until everything is well incorporated and smells amazing.
- Step 4: This is where the flavor really sinks in! Carefully use a spoon or a pastry brush to generously spread this glorious garlic butter mixture into each and every cut you made in the bread. Make sure to get it deep down in there!
- Step 5: Ready for that irresistible cheesy pull? If you’re adding cheese, now’s the time to stuff the shredded mozzarella and grated Parmesan into the cuts, right alongside that garlicky butter. It’s going to be so good!
- Step 6: Tightly wrap the entire loaf loosely in aluminum foil. This helps trap the steam and melt the cheese beautifully. Place the foil-wrapped loaf on a baking sheet – this makes it easy to transfer and catches any potential drips.
- Step 7: Bake it in your preheated oven for 15–20 minutes. You’ll start to smell that incredible garlic aroma filling your kitchen. The goal here is to get the cheese completely melted and the bread nice and warm all the way through.
- Step 8: Time for that golden-brown finish! Carefully unwrap the foil from the top of the loaf. Pop it back into the oven, uncovered, for an additional 5 minutes. This step ensures the top gets perfectly golden and crispy.
- Step 9: Once it’s beautifully golden, remove your masterpiece from the oven. Let it cool for just a few minutes – it will be piping hot! This is how you make pull apart garlic bread that’s perfect for sharing. Serve warm and watch it disappear!
Pro Tips for the Best Pull-Apart Garlic Bread
Want to elevate your garlic bread game? I’ve picked up a few tricks over the years that make this recipe absolute perfection every single time. These simple tips will ensure your homemade pull apart garlic bread is a showstopper.
- For the most intense garlic flavor, use fresh garlic cloves and mince them yourself. Pre-minced garlic just doesn’t pack the same punch.
- Don’t skip the foil-wrapping step! It steams the inside of the bread, keeping it wonderfully soft while the butter and cheese melt.
- If you love cheese, don’t be shy! Stuffing it into every crevice ensures a gooey, cheesy bite with every piece.
What’s the secret to perfect pull-apart garlic bread?
The real secret to the perfect best pull apart garlic bread is the combination of good quality ingredients and ensuring the garlic butter gets into every single cut. This allows the flavor to permeate the entire loaf.
Can I make pull-apart garlic bread ahead of time?
Absolutely! You can prepare the bread, slather it with the garlic butter and cheese, wrap it in foil, and refrigerate it for up to 24 hours before baking. Just add a few extra minutes to the baking time.
How do I avoid common mistakes with pull-apart garlic bread?
A common mistake is cutting too far through the bottom, causing the loaf to fall apart prematurely. Also, avoid overbaking, which can dry out the bread. Stick to the suggested times for that perfect texture.
Best Ways to Serve Pull-Apart Garlic Bread
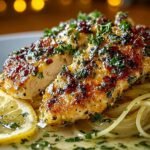
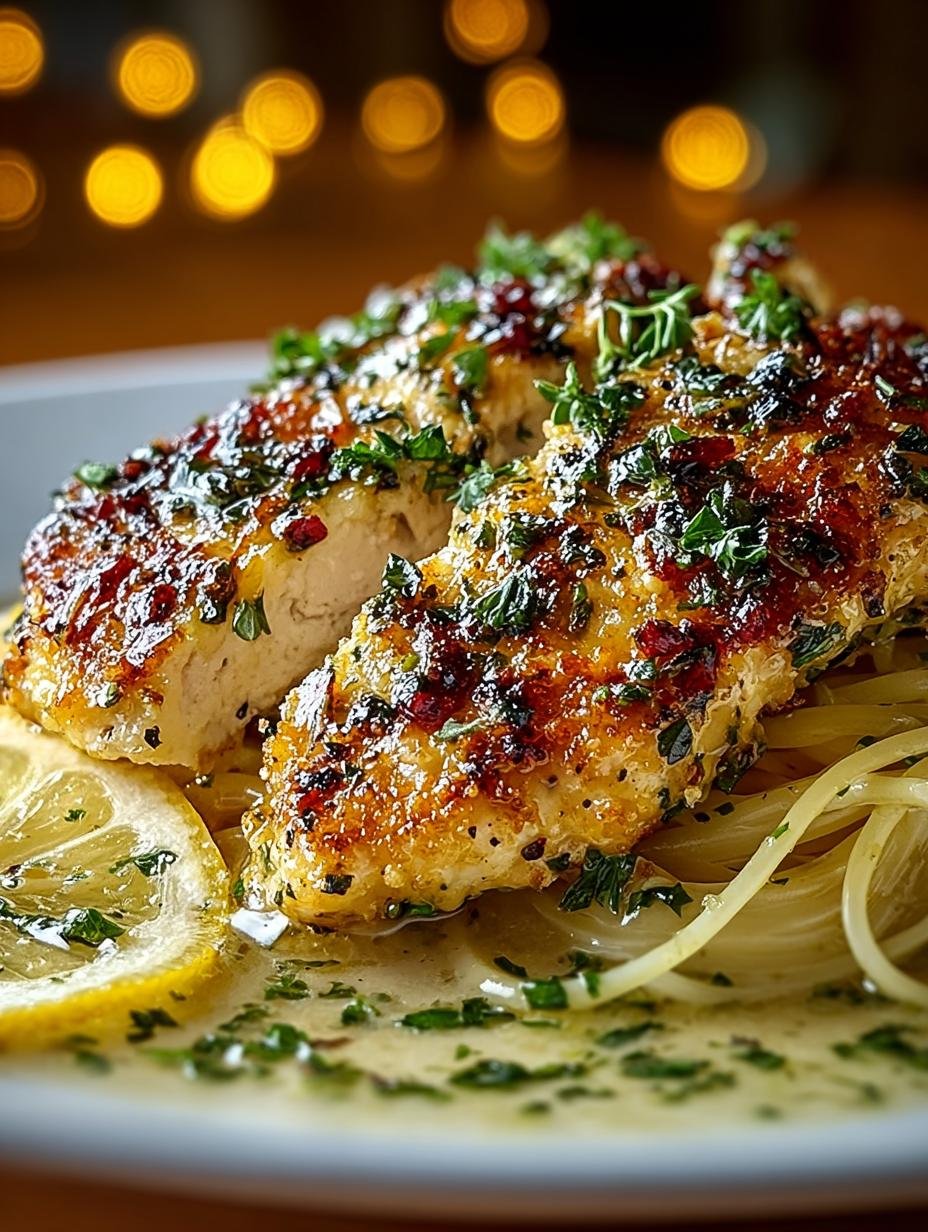
This amazing bread is so versatile! It’s the perfect accompaniment to so many meals. Imagine serving this warm, gooey garlic cheese pull apart bread alongside a hearty bowl of tomato soup – pure bliss! It’s also fantastic with pasta dishes like spaghetti bolognese or lasagna. For a more casual gathering, it makes an excellent appetizer or side for a barbecue spread, especially with pulled pork or grilled chicken. You can even serve it as the star of a “bread board” with various dips like marinara or pesto.
Nutrition Facts for Pull-Apart Garlic Bread
This recipe yields about 6-8 servings, and here’s a breakdown of approximate nutritional values per serving. Keep in mind that using cheese will slightly alter these numbers.
- Calories: 210
- Fat: 11g
- Saturated Fat: 6g
- Unsaturated Fat: 4g
- Trans Fat: 0g
- Carbohydrates: 22g
- Fiber: 1g
- Protein: 7g
- Sugar: 2g
- Sodium: 380mg
- Cholesterol: 25mg
Nutritional values are estimates and may vary based on specific ingredients used, especially if you add cheese to your homemade pull apart garlic bread.
How to Store and Reheat Pull-Apart Garlic Bread
Keeping your delicious homemade pull apart garlic bread fresh is super easy! Once it’s cooled down completely after baking, wrap it tightly in plastic wrap, then an additional layer of aluminum foil. This double-wrapping is key to preserving its moisture and flavor. Store it at room temperature for up to two days, or in the refrigerator for 3-4 days if you want it to last a bit longer. For longer storage, you can freeze portions of your homemade pull apart garlic bread for up to 3 months. Just make sure it’s well-sealed to prevent freezer burn.
Reheating is just as simple. For refrigerated bread, gently unwrap it and bake in a 350°F (175°C) oven for about 10-15 minutes until warmed through. If reheating from frozen, allow it to thaw in the refrigerator overnight first, then follow the same reheating instructions. You can also reheat individual slices in a toaster oven or even a skillet over medium-low heat until warm and slightly crispy.
Frequently Asked Questions About Pull-Apart Garlic Bread
Can I use different types of bread for pull-apart garlic bread?
Absolutely! While crusty loaves like sourdough or Italian work wonderfully, you can also use brioche for a sweeter, richer bread, or even French baguette sections for a quicker appetizer. The key is a bread that can hold its shape after slicing and absorb that delicious garlic butter for the ultimate cheesy pull apart garlic bread experience.
What if I don’t have fresh parsley?
No worries if fresh parsley isn’t on hand! You can easily substitute it with dried parsley. Use about 1 teaspoon of dried parsley for every tablespoon of fresh. You could also experiment with other fresh herbs like chives or a little bit of fresh rosemary, finely chopped, for a different flavor profile in your pull apart garlic bread recipe.
How do I get the garlic flavor throughout the entire loaf?
The trick to ensuring that amazing garlic flavor infuses every piece of your cheesy pull apart garlic bread is to be generous when spreading the butter mixture. Use a spoon or a small brush to push the garlic butter deep into each cut. For an extra boost, you can even mix a little extra minced garlic into the cheese if you’re using it.
Is pull-apart garlic bread good for make-ahead?
Yes, it’s a fantastic make-ahead option! You can prepare the entire loaf, slather it with the garlic butter and stuff it with cheese (if using), wrap it tightly in foil, and refrigerate it for up to 24 hours. Just remember to add a few extra minutes to the baking time when you’re ready to serve it warm.
Variations of Pull-Apart Garlic Bread You Can Try
Once you’ve mastered the basic recipe, don’t be afraid to get creative! My favorite way to switch things up is by adding different flavors and ingredients. For a delicious pull apart garlic bread with herbs, try adding a pinch of fresh rosemary or thyme along with the parsley. You can also experiment with different cheeses, like Gruyère or Provolone, for a unique twist. If you’re looking for a dairy-free option, simply use your favorite plant-based butter and a dairy-free shredded cheese alternative. For a spicier kick, add some red pepper flakes to the garlic butter mixture. You can even try grilling this bread for a smoky flavor!
PrintPull-Apart Garlic Bread: Delicious 1 loaf recipe

This easy pull-apart garlic bread recipe creates a warm, buttery loaf bursting with garlic and herb flavor. It’s perfect for sharing at parties or enjoying as a comforting side dish.
- Prep Time: 10 minutes
- Cook Time: 25 minutes
- Total Time: 35 minutes
- Yield: 1 loaf (6-8 servings) 1x
- Category: Side Dish
- Method: Baking
- Cuisine: American
- Diet: Vegetarian
Ingredients
- 1 large round loaf of crusty bread (sourdough or Italian style)
- 1/2 cup unsalted butter, softened
- 4 cloves garlic, minced
- 2 tbsp fresh parsley, chopped
- 1 tsp Italian seasoning
- 1/2 tsp salt
- 1/4 tsp black pepper
- 1 cup shredded mozzarella cheese (optional)
- 1/4 cup grated Parmesan cheese (optional)
Instructions
- Preheat your oven to 375°F (190°C).
- Slice the loaf of bread in a crisscross pattern, ensuring you do not cut all the way through the bottom crust.
- In a small bowl, combine the softened butter, minced garlic, chopped parsley, Italian seasoning, salt, and black pepper. Mix well.
- Use a spoon or brush to carefully spread the garlic butter mixture into each cut of the bread.
- If using cheese, stuff the shredded mozzarella and grated Parmesan into the cuts along with the garlic butter.
- Wrap the entire loaf loosely in aluminum foil and place it on a baking sheet.
- Bake for 15–20 minutes, or until the cheese is melted and the bread is heated through.
- Unwrap the foil from the top of the loaf and bake for an additional 5 minutes, or until the top is golden brown and crispy.
- Remove from the oven, let cool for a few minutes, and serve warm.
Notes
- Fresh parsley can be substituted with dried parsley if needed.
- For a spicier pull-apart garlic bread, add a pinch of red pepper flakes to the butter mixture.
- This garlic cheese pull apart bread is best served fresh and warm.
- The recipe can be prepared ahead of time and reheated in the oven.
Nutrition
- Serving Size: 1 slice
- Calories: 210
- Sugar: 2g
- Sodium: 380mg
- Fat: 11g
- Saturated Fat: 6g
- Unsaturated Fat: 4g
- Trans Fat: 0g
- Carbohydrates: 22g
- Fiber: 1g
- Protein: 7g
- Cholesterol: 25mg


Leave a Reply