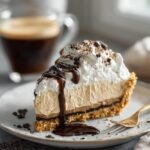
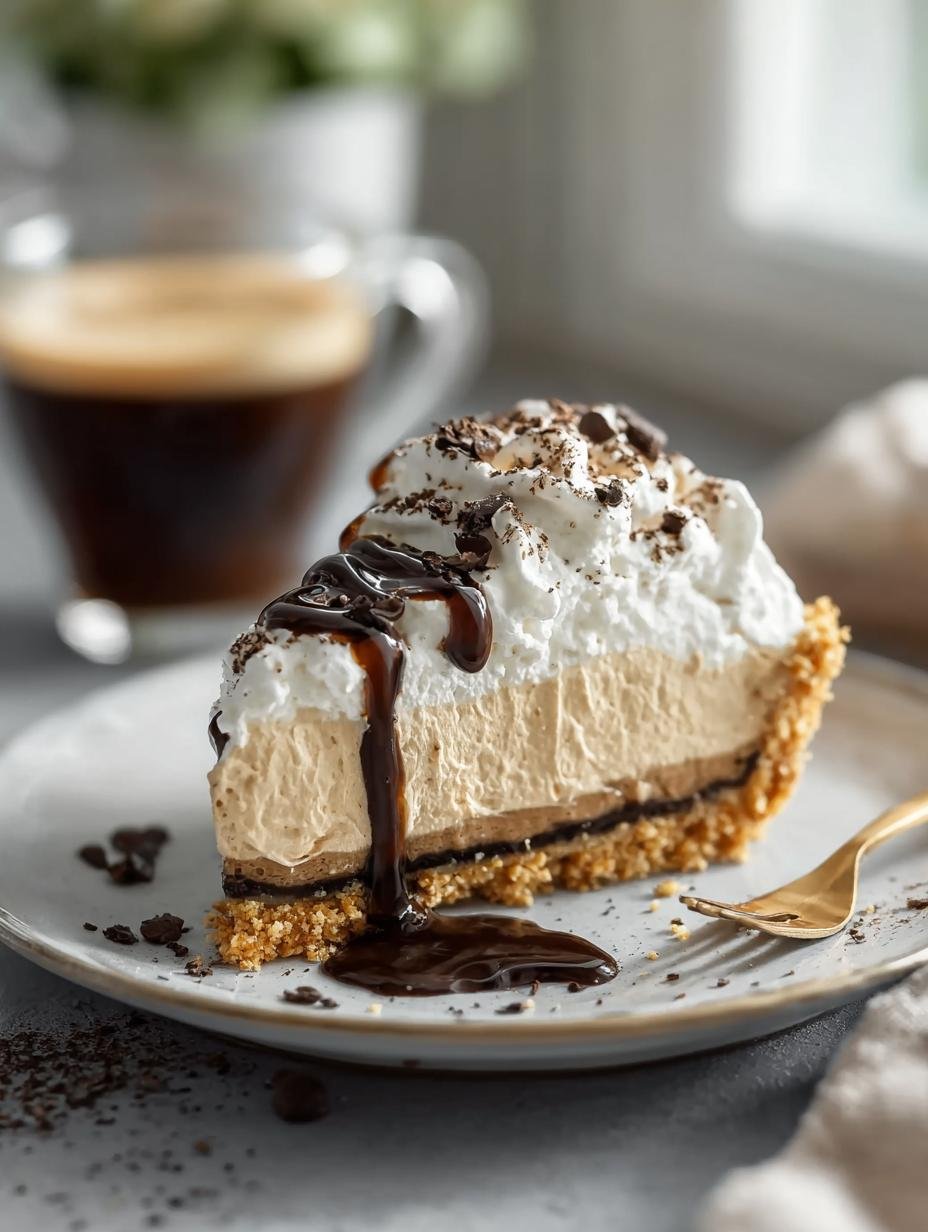
Bake mini pumpkin pie cups have become my absolute go-to for a quick, no-fuss taste of fall! I remember one Thanksgiving when I was a kid, my mom decided we were going to make pies, but the oven was already packed with turkey. I was so disappointed, but then she pulled out this genius idea for no-bake mini pumpkin pie cups. The smell of cinnamon and pumpkin filled our kitchen, and we had so much fun layering the crumbs and the creamy pumpkin filling. It’s such a simple way to capture that classic pumpkin pie flavor without any baking stress. Let’s get these easy mini pumpkin recipes made!
Why You’ll Love This Bake Mini Pumpkin Pie
These little delights are more than just a dessert; they’re an experience! Here’s why you’ll be hooked:
- No Oven Required: Perfect for busy holidays or when your oven is already in use, making them ideal for baking mini pumpkin pies for a crowd.
- Kid-Friendly Fun: They’re incredibly easy for little hands to help assemble, turning dessert making into a delightful activity.
- Quick & Easy: Whip them up in minutes for a speedy pumpkin dessert fix.
- Portion Control: Individual servings mean no slicing and less mess, perfect for grab-and-go treats.
- Customizable: From the base to the toppings, you can personalize each cup to your liking.
- Irresistible Flavor: All the classic pumpkin pie tastes you love, in a creamy, dreamy cup.
- Great for Gatherings: These individual pumpkin pie baking treats impress guests and are a hit at parties.
Ingredients for Your Mini Pumpkin Pie Recipe
Gathering these simple ingredients is the first step to creating a delightful mini pumpkin pie recipe. You won’t need your oven for this one, which is fantastic! Here’s what you’ll need to bake individual pumpkin pies:
- 1 (15 oz) can pumpkin puree – Make sure it’s pure pumpkin puree, not pie filling, for that authentic flavor.
- 1 (3.4 oz) package instant vanilla pudding mix – This is key for achieving that smooth, creamy texture in our no-bake pumpkin dessert.
- 1½ cups cold milk – Any milk works, but cold milk helps the pudding mix thicken up quickly to the perfect consistency.
- 1 tsp pumpkin pie spice – This blend brings all those warm, cozy fall flavors we love.
- ½ tsp cinnamon – A little extra cinnamon adds depth to the spice profile.
- 8 oz whipped topping (like Cool Whip) – This lightens up the filling and makes it wonderfully airy, perfect for a no-bake treat.
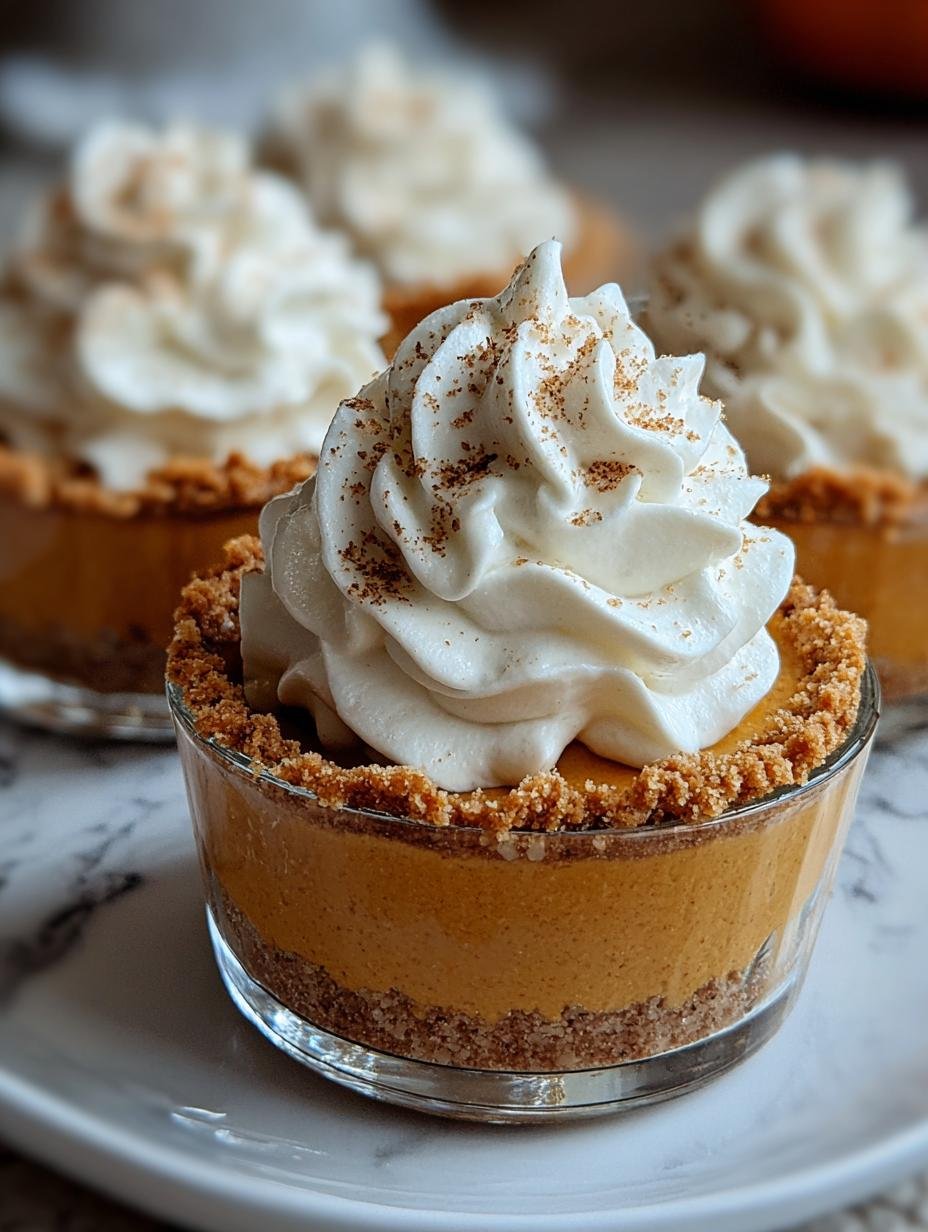
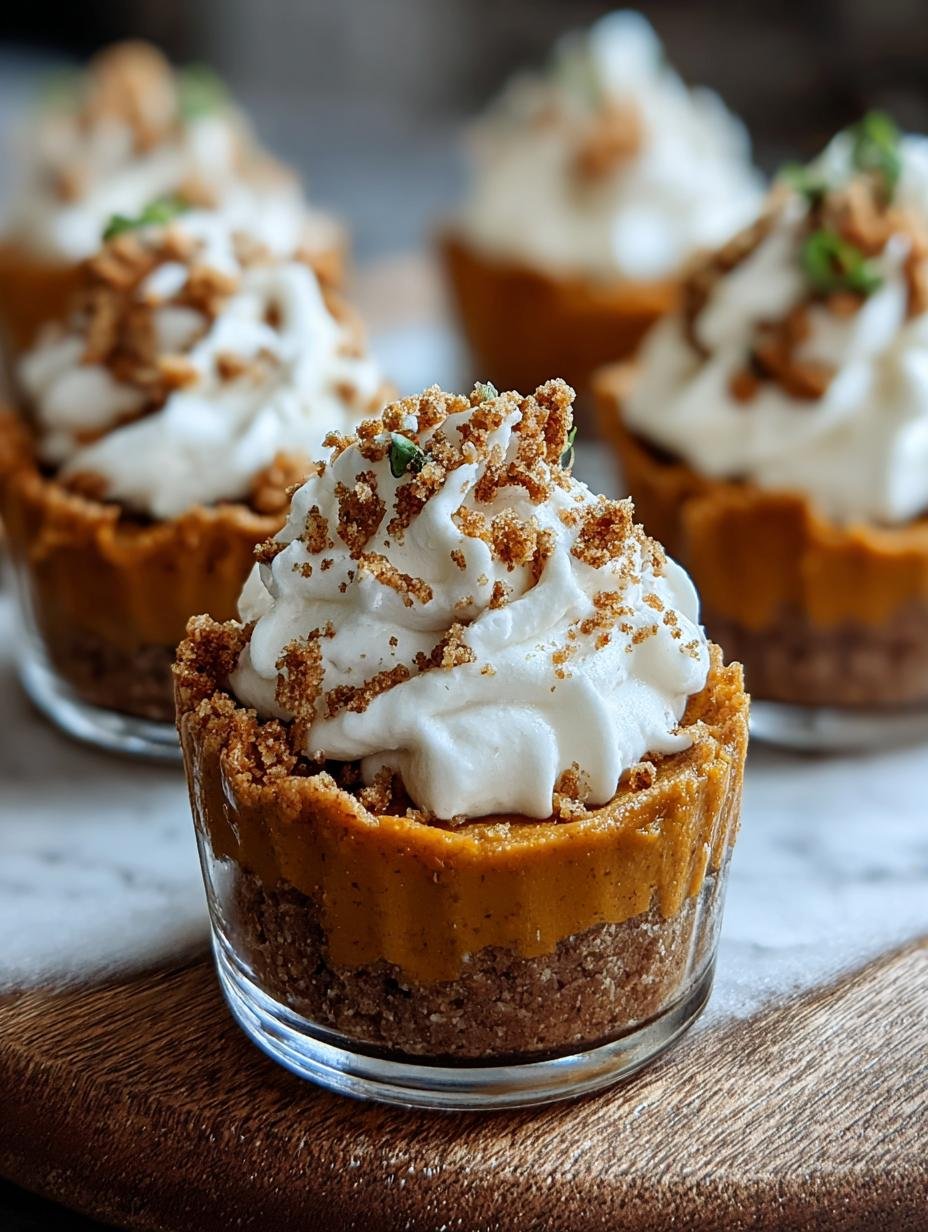
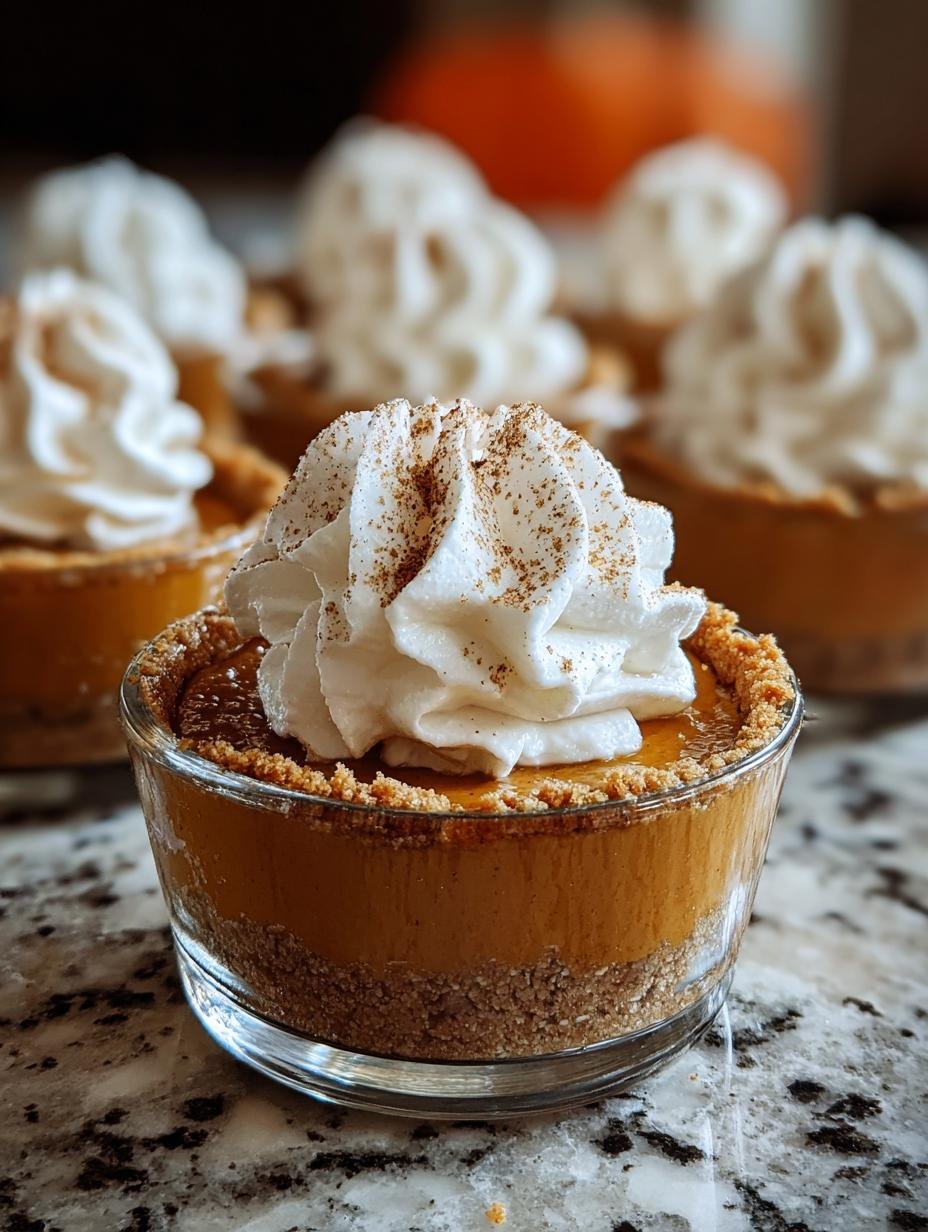
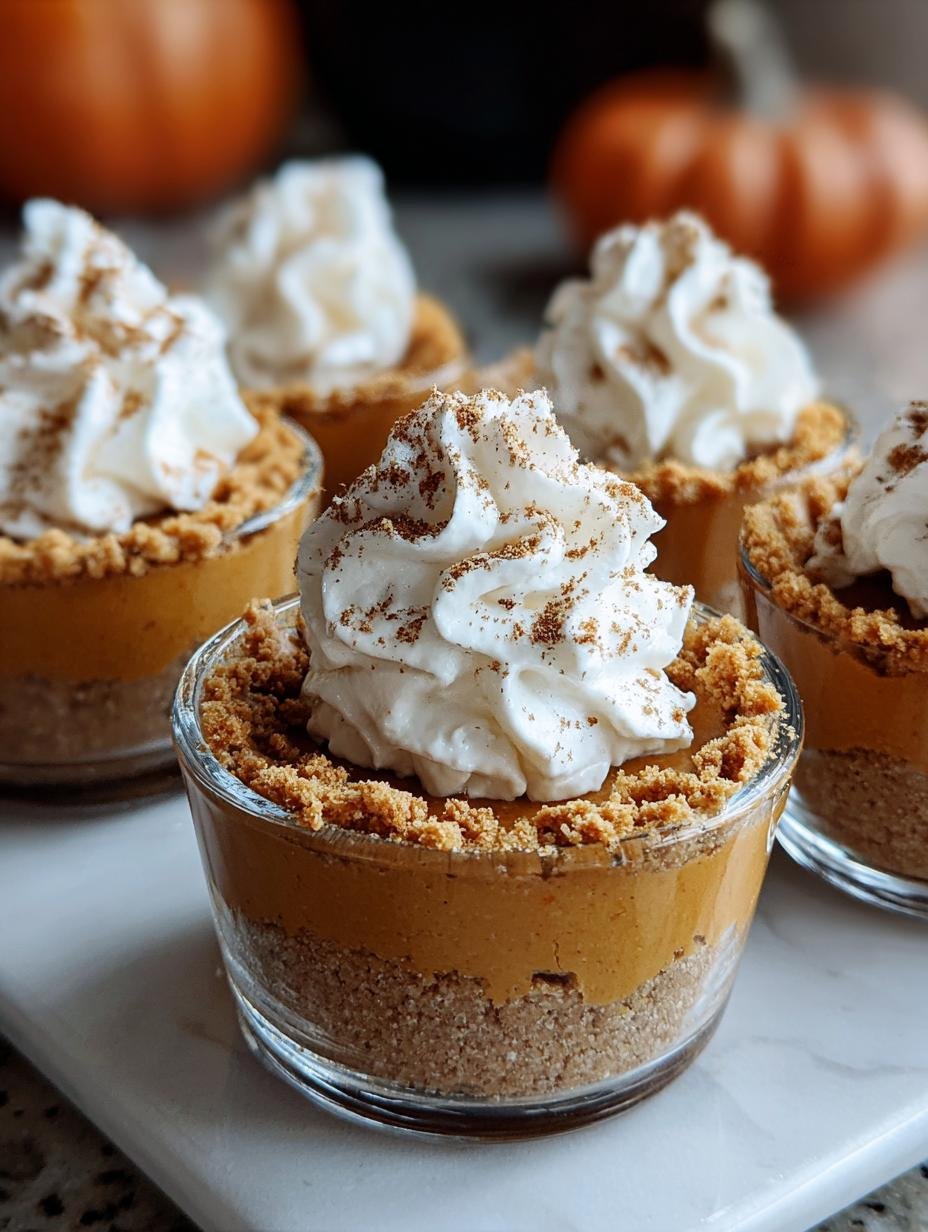
- Graham cracker crumbs – About 1 cup, or use pre-crushed graham cracker crust pieces. This forms the delicious base for our individual pumpkin pie baking.
- Mini plastic cups or dessert containers – These are perfect for serving your miniature pumpkin pie recipe.
- Optional Toppings: Crushed gingersnaps, extra whipped cream, mini marshmallows, fall-themed sprinkles, candy corn, or cinnamon sticks for garnish.
How to Make Mini Pumpkin Pies From Scratch
Let’s dive into creating these adorable no-bake mini pumpkin pies! While the outline mentions preheating an oven, we’re actually skipping that step entirely for this recipe, making it super easy and quick. You’ll be amazed at how simple it is to assemble these delicious cups. The aroma of pumpkin and spice will fill your kitchen as you work, promising a delightful treat.
- Step 1: Mix the Pudding
In a medium bowl, whisk together the instant vanilla pudding mix and the cold milk. Continue whisking for about 2 minutes until the mixture is smooth and starts to thicken just a bit. Let it sit for a couple of minutes more to ensure it reaches the perfect consistency for our mini pumpkin pie recipe. - Step 2: Add Pumpkin and Spices
Now, fold in the can of pumpkin puree. Add the pumpkin pie spice and the cinnamon. Gently stir everything together until it’s completely combined and you have a beautifully smooth, orange pumpkin mixture. The scent at this stage is pure fall bliss! - Step 3: Fold in Whipped Topping
Take about half of your whipped topping and gently fold it into the pumpkin mixture. This step is crucial for achieving that light, airy, mousse-like texture that makes these cups so irresistible. Be careful not to overmix; you want to keep it fluffy. - Step 4: Assemble Cups
Grab your mini plastic cups or dessert containers. Spoon about 2 tablespoons of graham cracker crumbs into the bottom of each cup. This creates the perfect base for your individual pumpkin pie baking. Then, add a generous layer of the pumpkin mixture on top of the crumbs. If your cups are deep enough, you can even add another layer of crumbs and pumpkin for a fun layered effect when you bake mini pumpkin pies. - Step 5: Decorate and Chill
Top each cup with a dollop of the remaining whipped topping. Now comes the fun part – decorating! Add your favorite optional toppings like crushed gingersnaps, a swirl of whipped cream, festive sprinkles, or a few pieces of candy corn. For a final touch when you bake individual pumpkin pies, you could even add a small cinnamon stick. Chill these delightful treats in the refrigerator for at least 30 minutes before serving to allow the flavors to meld. Enjoy your delicious, simple mini pumpkin pie creation!
Miniature Pumpkin Pie Baking Tips
Even though we aren’t actually baking them, these tips will help you make the best no-bake mini pumpkin pie cups! Following these simple tricks ensures a delicious and impressive dessert every time.
- Use pure pumpkin puree, not pumpkin pie filling, for the best flavor.
- Chill the milk and whipped topping beforehand for quicker thickening and fluffier results.
- Don’t overmix the whipped topping into the pumpkin mixture; gentle folding is key!
- Layering crumbs at the bottom and optionally between the pumpkin filling adds a great texture.
What’s the secret to perfect mini pumpkin pie baking?
The real secret to perfect miniature pumpkin pie baking is the combination of instant pudding mix and cold milk, which creates a stable, creamy base. Folding in whipped topping at the end ensures a light, airy texture that mimics a traditional pie filling beautifully. For more tips on achieving perfect dessert textures, check out this guide on food elements.
Can I make mini pumpkin pies ahead of time?
Absolutely! You can assemble these mini pumpkin pies up to 24 hours in advance. Just cover them tightly and keep them refrigerated. It’s best to add delicate toppings like whipped cream and sprinkles right before serving to keep them looking their freshest. This is a great strategy for busy holidays, similar to how one might prepare homemade tomato sauce in advance.
How do I avoid common mistakes when baking small pumpkin pies?
The most common mistake is using pumpkin pie filling instead of puree, which can make the filling too watery. Also, be careful not to overmix the whipped topping, as this can deflate the filling. Ensure your milk is cold for proper pudding thickening. Understanding ingredient properties is key, much like understanding the benefits of onions.
Best Ways to Serve Your Bake Mini Pumpkin Pies
These adorable little cups are so versatile! They’re fantastic on their own, but here are a couple of ways to make your serve your bake mini pumpkin pies even more special. For a simple yet satisfying treat, just present them as is, perhaps with a dollop of extra whipped cream. If you’re serving them as part of a larger dessert spread, consider pairing them with a warm beverage like spiced apple cider or a hot latte. They also make a wonderful addition to a Thanksgiving dessert table, offering a lighter, individual option alongside a traditional pie. This makes them perfect for baking mini pumpkin pies for a crowd!
Nutrition Facts for Mini Pumpkin Pie Recipe
When you bake mini pumpkin pies, especially these no-bake cups, you’re getting a delightful treat that’s relatively light. Here’s a breakdown of the nutritional information per mini cup, based on the ingredients listed for this mini pumpkin pie recipe:
- Calories: 160
- Fat: 6g
- Saturated Fat: 3g
- Protein: 2g
- Carbohydrates: 22g
- Fiber: 2g
- Sugar: 14g
- Sodium: 130mg
Nutritional values are estimates and may vary based on specific ingredients used when you bake mini pumpkin pies.
How to Store and Reheat Miniature Pumpkin Pies
Keeping your delightful no-bake miniature pumpkin pies fresh is a breeze! Once you’ve finished assembling and chilling your tiny pumpkin pie instructions, it’s time to think about storage. If you find yourself with leftovers (which is rare!), make sure they’ve cooled completely before attempting to store them. For the best results when you bake mini pumpkin pies, use airtight containers or cover them tightly with plastic wrap. These pair well with other desserts like berry crumble.
You can store these little gems in the refrigerator for up to 3 to 4 days. They hold up wonderfully, and the flavors even meld a bit more over time. While these are no-bake, they don’t freeze particularly well, so I wouldn’t recommend freezing them for longer than a week, and even then, the texture might change. Reheating isn’t really necessary since they’re served chilled, but if you prefer them slightly cooler, just pop them back in the fridge. Enjoy your easy mini pumpkin recipes whenever the craving strikes!
Frequently Asked Questions About Baking Tiny Pumpkin Pies
Can I use regular pumpkin pie filling instead of puree when baking tiny pumpkin pies?
It’s best to stick with pure pumpkin puree. Pumpkin pie filling already contains sweeteners and spices, which can throw off the flavor balance and texture of this recipe. Using puree ensures you have control over the sweetness and spice levels in your miniature pumpkin pie recipe. For a similar controlled flavor, consider making easy cinnamon rolls from scratch.
What’s the best way to make mini pumpkin pies for a crowd?
For a crowd, the best way to make mini pumpkin pies is to prepare the pumpkin filling in a large batch and then assemble the cups assembly-line style. Have all your toppings ready to go. This makes the process much faster and more efficient when you’re baking mini pumpkin pies for many people.
Can I make the graham cracker crust ahead of time for my mini pumpkin pie recipe?
Yes, you can definitely prepare your graham cracker crumbs ahead of time! Just crush them and store them in an airtight container at room temperature. This saves you a step when you’re ready to assemble your easy mini pumpkin recipes. They’ll be ready to go for your individual pumpkin pie baking. This is a great tip for any recipe, much like preparing spaghetti with garlic and oil ahead of time.
How do I get nice, clean layers when assembling my miniature pumpkin pie recipe?
To get clean layers, be precise with your measurements. Use about 2 tablespoons of crumbs for the base and then carefully spoon the pumpkin mixture on top. If you’re adding a second layer, try to spread the pumpkin mixture evenly. For the top layer of whipped topping, a piping bag can give you a professional-looking finish for your tiny pumpkin pie instructions.
Variations of Mini Pumpkin Pie Recipe You Can Try
Feeling adventurous? You can easily adapt this simple mini pumpkin pie recipe to suit different tastes and dietary needs. These variations are perfect for anyone looking to explore beyond the basic, making your individual pumpkin pie baking even more exciting!
- Dairy-Free Delight: Swap the milk for unsweetened almond or soy milk and use a dairy-free whipped topping. This makes your easy mini pumpkin recipes suitable for those avoiding dairy.
- Gluten-Free Goodness: Use gluten-free graham crackers or a pre-made gluten-free pie crust for the base. This ensures everyone can enjoy your miniature pumpkin pie recipe without worry.
- Spiced Up Flavor: Add a pinch of ground ginger or nutmeg to the pumpkin mixture for an extra layer of warmth. You could even experiment with a touch of maple extract for a different twist on your small pumpkin pie baking instructions.
- Cookie Crust Twist: Instead of graham crackers, try using crushed vanilla wafers, shortbread cookies, or even gingersnap cookies for a unique crust flavor profile when you bake mini pumpkin pies.
Bake Mini Pumpkin Pie: Easy 5-Step Fall Treat

Easy No-Bake Mini Pumpkin Pie Cups are a fun and festive dessert activity perfect for kids and families. These simple, no-oven-required treats are made with pumpkin, pudding, and whipped topping, offering a delicious taste of fall with minimal mess and maximum fun. They are ideal for Thanksgiving cooking projects, classroom activities, or any occasion where you want an engaging and delicious holiday treat.
- Prep Time: 15 minutes
- Cook Time: 0 minutes
- Total Time: 15 minutes
- Yield: 10 mini cups 1x
- Category: Dessert, Kids Activities
- Method: No-Bake
- Cuisine: American
- Diet: Vegetarian
Ingredients
- 1 (15 oz) can pumpkin puree (not pumpkin pie filling)
- 1 (3.4 oz) package instant vanilla pudding mix
- 1½ cups cold milk
- 1 tsp pumpkin pie spice
- ½ tsp cinnamon
- 8 oz whipped topping (like Cool Whip)
- Graham cracker crumbs (or pre-crushed pie crust pieces)
- Mini plastic cups or dessert containers
- Optional Toppings: Crushed gingersnaps, whipped cream, mini marshmallows, fall-themed sprinkles, candy corn, cinnamon sticks for garnish
Instructions
- Mix the Pudding: Whisk pudding mix and cold milk in a bowl until smooth. Let sit for 2 minutes to thicken slightly.
- Add Pumpkin and Spices: Fold in pumpkin puree, pumpkin pie spice, and cinnamon until fully combined.
- Fold in Whipped Topping: Gently fold in half of the whipped topping for a creamy, mousse-like texture.
- Assemble Cups: Spoon 2 tablespoons of graham cracker crumbs into each cup. Add a layer of pumpkin mixture. Repeat if desired for layers.
- Decorate and Chill: Top with whipped topping and your choice of fun toppings. Chill for at least 30 minutes before serving or enjoy immediately.
Notes
- Kid-friendly: No oven required, safe for preschoolers to help make mini pumpkin pie cups.
- Allergy-friendly: Swap for dairy-free milk or gluten-free cookies if needed for your mini pumpkin pie recipe.
- Prep-ahead: Can be made 1 day in advance; add toppings before serving your mini pumpkin pie cups.
- Storage: Keep refrigerated up to 3 days; not suitable for freezing.
- Fun idea: Turn into crafts with name tags or decorations for classroom activities when baking mini pumpkin pies.
Nutrition
- Serving Size: 1 mini cup
- Calories: 160
- Sugar: 14g
- Sodium: 130mg
- Fat: 6g
- Saturated Fat: 3g
- Unsaturated Fat: 2g
- Trans Fat: 0g
- Carbohydrates: 22g
- Fiber: 2g
- Protein: 2g
- Cholesterol: 5mg


Leave a Reply